Homemade Reese’s Cups Classic
Highlighted under: Comfort Desserts
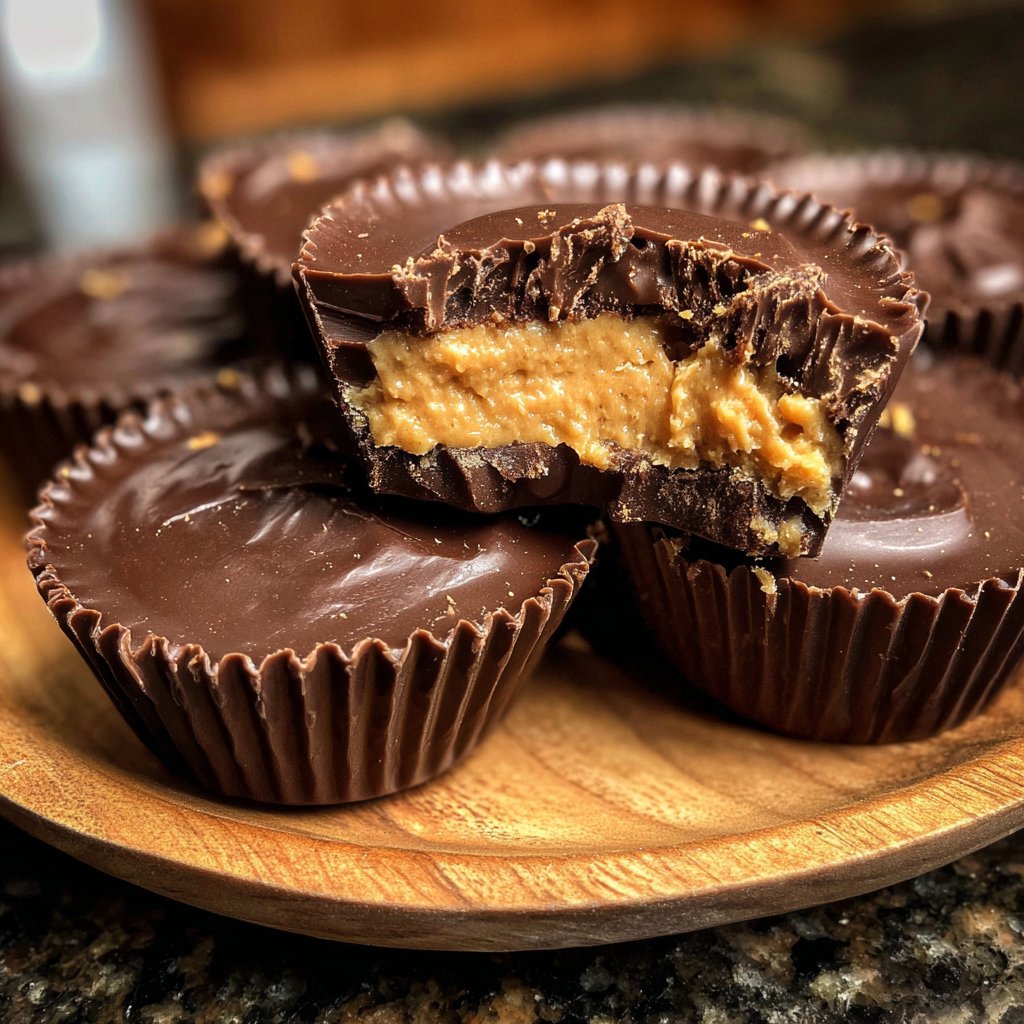
I’ve always been a huge fan of Reese’s Cups, and making them at home has been such a rewarding experience. The process is surprisingly simple, and it allows me to control the ingredients while still enjoying that rich chocolate and peanut butter combination. Every time I bite into one of these homemade treats, I’m reminded of my childhood and the joy they brought me. Plus, I love being able to experiment with different chocolates and peanut butter blends to find my perfect combination.
Making my own Reese’s Cups was an idea that I kept toying with until I finally took the plunge. I discovered that by melting chocolate and peanut butter separately, I could play with the ratios to achieve a texture and flavor that outshines the store-bought version. Each layer is critical; I pour chocolate first, let it set, and then add the peanut butter—this method ensures that every bite is deliciously balanced.
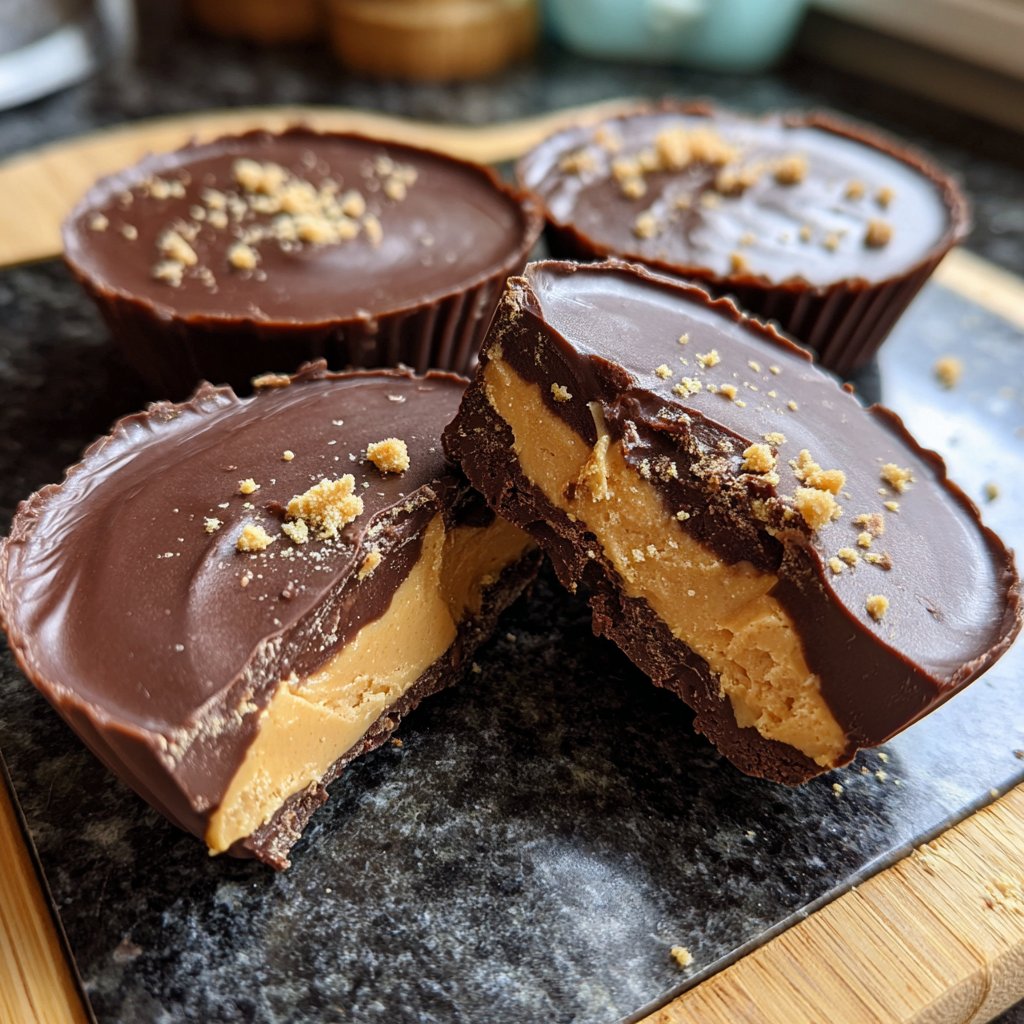
One of the best parts about this recipe is the opportunity to customize it. I liked playing with different kinds of nut butters or adding a sprinkle of sea salt on top for an extra flavor boost. It really makes these cups feel gourmet while keeping them simple. And in just 30 minutes, I have a batch ready to share (or not!)
Why You'll Love This Recipe
- Rich chocolate flavor paired with creamy peanut butter
- Customizable with different types of chocolate and add-ins
- Quick and easy to make at home for any occasion
Understanding the Ingredients
The star ingredients in these homemade Reese’s Cups are chocolate and peanut butter. Semi-sweet and milk chocolate chips create a delightful blend of flavors and textures, giving you that classic candy bar taste. Semi-sweet chocolate has a balanced sweetness, while the milk chocolate provides creaminess. If you want to experiment, consider dark chocolate for a richer profile or white chocolate for a sweeter twist. Just keep in mind that different chocolate types may alter the melting point, so adjust your melting technique accordingly.
Peanut butter plays a crucial role in the filling. I prefer creamy peanut butter for a smooth texture that spreads easily, but crunchy peanut butter can add a delightful texture if you enjoy bites of peanut. This recipe also works beautifully with natural peanut butter, though you may need to adjust the amount of powdered sugar to account for its lack of sweetness and oilier consistency.
Perfecting the Technique
Melt the chocolate chips in intervals to prevent overheating — it's best to stop when there are still a few lumps and stir until fully melted. This will help maintain the glossy finish and avoid scorched bits. Using a quality microwave-safe bowl is essential to withstand the heat. If you find your chocolate has seized or become gritty, try adding a teaspoon of vegetable oil to salvage it by improving the texture.
When preparing the cups, filling the muffin tin with just the right amount of melted chocolate can be tricky. Aim for about a tablespoon in each liner to create a solid base without overflowing. It’s crucial to freeze the first layer for at least ten minutes to ensure it sets properly, allowing for easy handling when adding the peanut butter mixture. If you skip this step, the layers could blend together, resulting in a less defined taste.
Ingredients
For the Cups
- 1 cup semi-sweet chocolate chips
- 1 cup milk chocolate chips
- 1 cup peanut butter (creamy or crunchy)
- 1 cup powdered sugar
- 1/2 teaspoon vanilla extract
- 1/4 teaspoon salt
Make sure to use quality chocolate for the best flavor.
Instructions
Melt the Chocolates
In a microwave-safe bowl, melt the semi-sweet chocolate chips in 30-second intervals, stirring after each until smooth. Repeat with the milk chocolate chips in a separate bowl.
Prepare the Peanut Butter Mixture
In another bowl, combine the peanut butter, powdered sugar, vanilla extract, and salt. Mix until well combined and smooth.
Assemble the Cups
Line a muffin tin with cupcake liners. Spoon a small amount of melted chocolate into the bottom of each liner, spreading it out to form the base. Freeze for 10 minutes until set.
Add Peanut Butter
Once the chocolate has set, scoop a tablespoon of the peanut butter mixture into each cup, flattening it down slightly.
Top with More Chocolate
Cover the peanut butter layer with more melted chocolate. Make sure to spread it evenly over the top. Freeze again for an additional 10 minutes until fully set.
Enjoy
Remove the cups from the muffin tin and enjoy your homemade Reese’s Cups!
These cups can be stored in the refrigerator for a week.
Pro Tips
- Experiment with dark or white chocolate for different flavor profiles. You can also add crushed pretzels or nuts for extra crunch in the peanut butter layer!
Storage and Shelf Life
Once you've made these delightful treats, you can store them in an airtight container in the fridge for up to two weeks. However, for the best flavor and texture, I recommend eating them within the first week. If you want to prolong their shelf life, you can freeze them. Just place them in a single layer on a baking sheet, freeze until solid, and then transfer to a freezer-safe container. They can last for up to three months in the freezer, and you can enjoy them straight from the freezer for a cold treat.
Ensure that when you freeze them, the chocolate coating remains intact to avoid any textural changes upon thawing. Thaw in the refrigerator rather than at room temperature to prevent condensation, which can make the chocolate lose its shine.
Variations and Add-Ins
Feel free to customize your Reese’s Cups by adding various ingredients to the peanut butter mixture. Some people like to stir in crushed pretzels for a sweet-salty crunch, or even toffee bits for a caramel-like flavor boost. You can also add a pinch of cinnamon or a few teaspoons of almond extract to the peanut butter filling for a unique twist that elevates the flavor profile.
If you're looking to make these cups vegan, substitute the chocolate chips with dairy-free options and use natural peanut butter without added sugar. Always check labels for hidden dairy products, as some chocolates may contain milk fat. You can also experiment with different nut butters, such as almond or cashew, to switch up the flavor while maintaining that enjoyable creamy consistency.
Questions About Recipes
→ Can I use almond or cashew butter instead of peanut butter?
Yes! You can substitute with almond or cashew butter to create unique flavor variations.
→ How should I store the Reese’s Cups?
Store them in an airtight container in the refrigerator for up to one week.
→ Can I freeze these cups for later?
Yes, you can freeze them. Just make sure they are in an airtight container to prevent freezer burn.
→ What if I don’t have cupcake liners?
You can also use a greased muffin tin or silicone mold, though it may be harder to remove the cups without liners.
Homemade Reese’s Cups Classic
What You'll Need
For the Cups
- 1 cup semi-sweet chocolate chips
- 1 cup milk chocolate chips
- 1 cup peanut butter (creamy or crunchy)
- 1 cup powdered sugar
- 1/2 teaspoon vanilla extract
- 1/4 teaspoon salt
How-To Steps
In a microwave-safe bowl, melt the semi-sweet chocolate chips in 30-second intervals, stirring after each until smooth. Repeat with the milk chocolate chips in a separate bowl.
In another bowl, combine the peanut butter, powdered sugar, vanilla extract, and salt. Mix until well combined and smooth.
Line a muffin tin with cupcake liners. Spoon a small amount of melted chocolate into the bottom of each liner, spreading it out to form the base. Freeze for 10 minutes until set.
Once the chocolate has set, scoop a tablespoon of the peanut butter mixture into each cup, flattening it down slightly.
Cover the peanut butter layer with more melted chocolate. Make sure to spread it evenly over the top. Freeze again for an additional 10 minutes until fully set.
Remove the cups from the muffin tin and enjoy your homemade Reese’s Cups!
Extra Tips
- Experiment with dark or white chocolate for different flavor profiles. You can also add crushed pretzels or nuts for extra crunch in the peanut butter layer!
Nutritional Breakdown (Per Serving)
- Calories: 380 kcal
- Total Fat: 26g
- Saturated Fat: 15g
- Cholesterol: 195mg
- Sodium: 85mg
- Total Carbohydrates: 32g
- Dietary Fiber: 3g
- Sugars: 24g
- Protein: 6g