Rich Chocolate Cake With Chocolate Buttercream
Highlighted under: Comfort Desserts
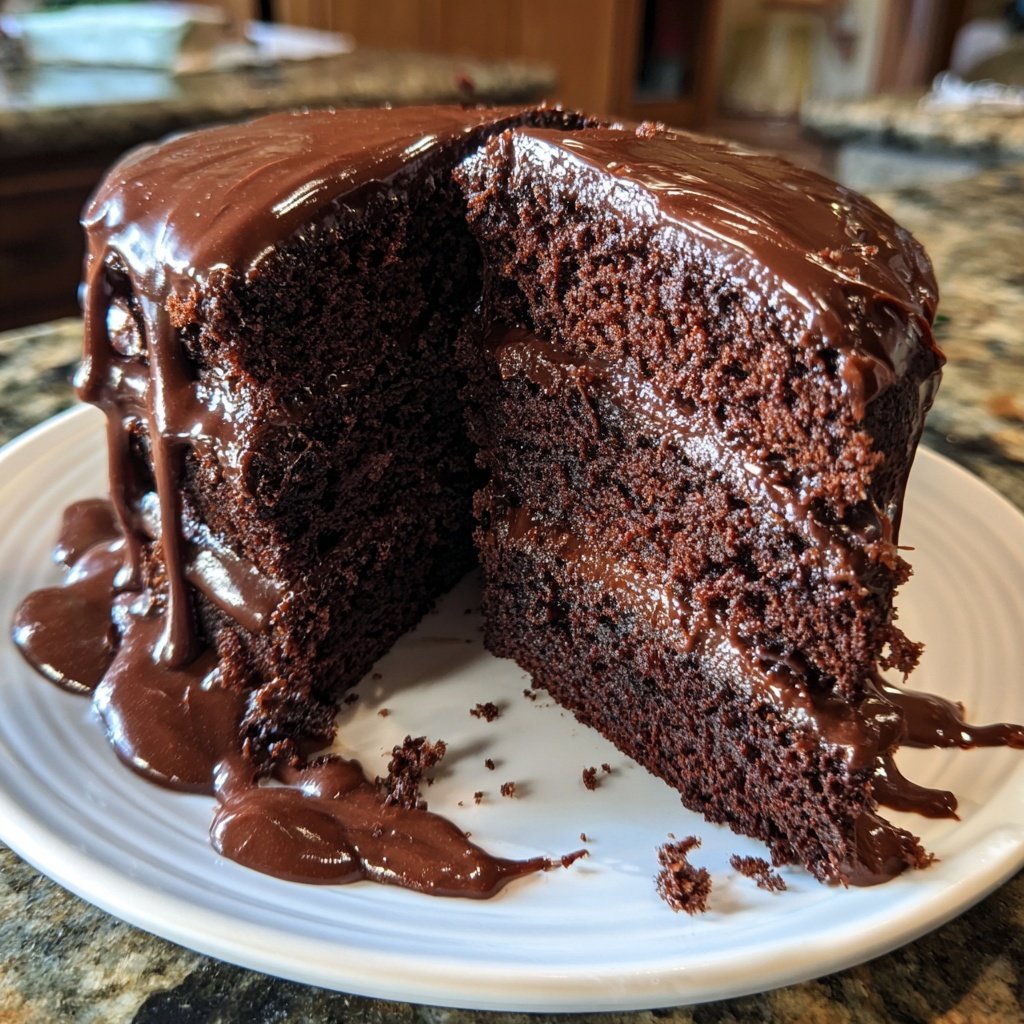
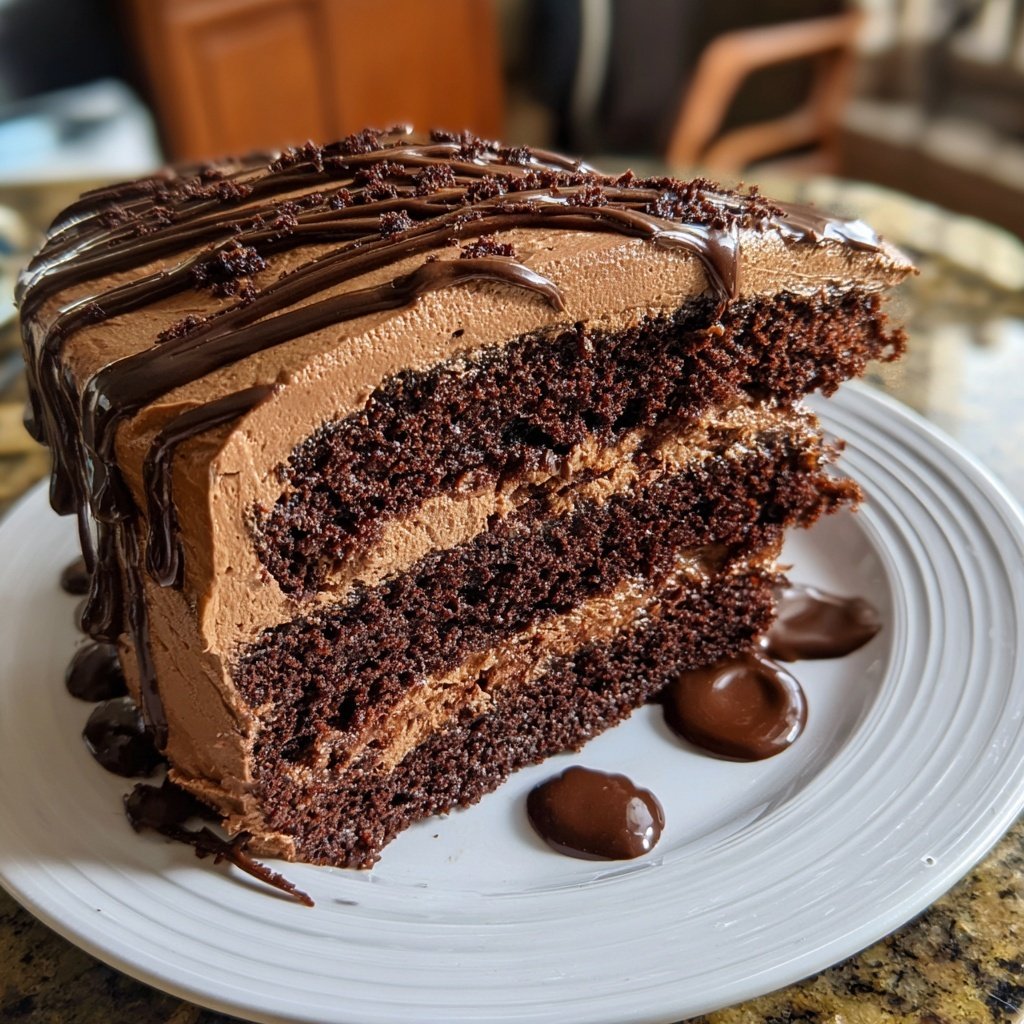
I absolutely adore making this Rich Chocolate Cake with Chocolate Buttercream! Each time I bake it, the rich aroma fills my kitchen, making it hard to wait for it to cool down. The moist chocolate layers paired with silky smooth buttercream create a decadent experience that is hard to resist. Whether it's a special occasion or just a treat for myself, this cake never fails to impress. I truly enjoy the process of layering and frosting, knowing that each slice will deliver pure happiness to those I share it with.
When I first attempted to make this Rich Chocolate Cake, I was pleasantly surprised by how simple the process was. I had been intimidated by frosting in the past, but the buttercream technique I learned truly changed everything. I realized using high-quality cocoa powder made a world of difference in flavor and texture. Each bite is a testament to the importance of choosing the right ingredients!
One of my favorite tips is to let the cake layers cool completely before frosting. I often rush this part, thinking it won't matter, but allowing the layers to set helps avoid any melting or sliding of the buttercream. My guests are always impressed when I take this extra step, ensuring the cake looks fantastic and tastes better!
Why You'll Love This Cake
- Rich chocolate flavor paired with fresh orange zest
- Creamy texture that melts in your mouth
- Perfect for celebrations or as a sweet indulgence
Understanding Ingredient Functions
Each ingredient in this Rich Chocolate Cake plays a pivotal role in achieving the desired texture and flavor. For instance, the combination of all-purpose flour and cocoa powder provides the cake with structure while ensuring a rich chocolate flavor. The leavening agents, baking powder and baking soda, help the cake rise, resulting in a light and airy texture. Using unsweetened cocoa powder is essential; it allows you to control the sweetness of the cake while providing deep chocolate notes.
The use of boiling water in the batter is a unique step that many bakers overlook. It helps to bloom the cocoa powder, intensifying the chocolate flavor. Additionally, it creates a more tender crumb by hydrating the flour thoroughly. This technique ensures that the cake stays moist and doesn’t dry out after baking. If you find your cake dry, consider checking your oven temperature for accuracy or reducing baking time slightly.
Perfecting the Buttercream
To achieve that smooth and fluffy texture in your chocolate buttercream, ensure that your unsalted butter is at room temperature—about 68°F (20°C) is ideal. If your butter is too cold, you won't be able to incorporate enough air into the mixture; if it's too warm, the buttercream will be too soft and may not hold its shape. I recommend beating the butter for at least 3-5 minutes before adding the cocoa and powdered sugar for optimal creaminess.
When mixing in the powdered sugar, add it gradually to avoid a sugar cloud in your kitchen! Start on a low speed until combined, then increase to medium. Adding heavy cream helps achieve the perfect consistency, making the buttercream spreadable without being too runny. Should your buttercream become too thick, you can always add a teaspoon of heavy cream to loosen it up. Conversely, if it’s too thin, a little more powdered sugar will thicken it up nicely.
Storage and Serving Tips
This rich chocolate cake can be stored in an airtight container at room temperature for up to 3 days. If you want to extend its freshness, refrigerate it, but be aware that refrigeration can alter the texture a bit. To serve, I recommend letting the cake sit at room temperature for about 30 minutes to soften before slicing. This allows the buttercream to soften slightly and enhances the overall flavor experience.
You can also freeze this cake for longer storage. Slice the cake into individual portions, wrap them tightly in plastic wrap, and then place them in a freezer-safe container. The cake will last up to 3 months in the freezer. To enjoy, simply defrost the pieces overnight in the refrigerator, and then bring them back to room temperature before indulging in that decadent chocolate experience.
Ingredients
Gather these ingredients to create your rich and indulgent cake!
Cake Ingredients
- 1 ¾ cups all-purpose flour
- 1 ¾ cups granulated sugar
- ¾ cup unsweetened cocoa powder
- 1 ½ tsp baking powder
- 1 ½ tsp baking soda
- 1 tsp salt
- 2 large eggs
- 1 cup whole milk
- ½ cup vegetable oil
- 2 tsp vanilla extract
- 1 cup boiling water
Buttercream Ingredients
- 1 cup unsalted butter, softened
- 3 ½ cups powdered sugar
- ½ cup unsweetened cocoa powder
- ¼ cup heavy cream
- 1 tsp vanilla extract
Once you have everything measured out, you are ready to start baking!
Instructions
Follow these simple steps to create your amazing cake!
Prepare the Cake Batter
Preheat your oven to 350°F (175°C). In a large bowl, combine flour, sugar, cocoa powder, baking powder, baking soda, and salt. Mix well. Add eggs, milk, oil, and vanilla. Beat on medium speed for 2 minutes. Gradually stir in boiling water until combined.
Bake the Cakes
Pour the batter evenly into two greased 9-inch round cake pans. Bake for 30-35 minutes or until a toothpick inserted in the center comes out clean. Let them cool in the pans for 10 minutes, then transfer to wire racks to cool completely.
Make the Buttercream
In a large bowl, beat softened butter with an electric mixer until creamy. Gradually add powdered sugar and cocoa powder, mixing until the mixture is combined. Pour in heavy cream and vanilla extract, then beat until smooth and fluffy.
Assemble the Cake
Once the cakes have cooled, place one layer on a serving plate. Spread a layer of buttercream on top. Place the second layer on top and frost the top and sides of the cake with the remaining buttercream. Optional: Decorate with chocolate shavings.
Enjoy your homemade Rich Chocolate Cake with Chocolate Buttercream!
Pro Tips
- For an extra touch, consider adding orange zest to your buttercream for a citrusy twist that complements the chocolate beautifully.
Variations on the Recipe
Feel free to add some zest to your cake by incorporating fresh orange or mint leaves into the batter or as a garnish. A subtle hint of citrus can elevate the flavors of the chocolate and create a delightful contrast that surprises the palate. Another variation could involve swapping out some of the buttercream with a raspberry or cherry preserve filling, giving a fruity twist that pairs beautifully with the chocolate.
For those with dietary restrictions, you can make this cake gluten-free by using a gluten-free all-purpose flour blend. Just ensure that your baking powder and cocoa powder are also gluten-free. Additionally, to create a dairy-free version of this cake, substitute the butter with a plant-based alternative and the milk with almond or soy milk.
Troubleshooting Common Issues
If your cake sinks in the middle after baking, it may be due to underbaking or overmixing the batter. Always check for doneness by inserting a toothpick into the center of the cake; it should come out with only a few moist crumbs attached. Overmixing can also incorporate too much air into the batter, causing it to rise rapidly and then collapse; mix until just combined for best results.
Should your buttercream appear grainy, it could be a sign that the powdered sugar wasn’t sifted before adding. To remedy this, you can re-beat the buttercream; just be sure to do so on a low speed to avoid incorporating air and making it too fluffy. Additionally, if your buttercream is too sweet, a small pinch of salt can help balance the flavors.
Questions About Recipes
→ Can I use a different type of flour?
You can try using cake flour for a lighter texture, but keep in mind it might slightly alter the density.
→ How should I store the cake?
Store in an airtight container at room temperature for up to 3 days, or in the fridge for a week.
→ Can I freeze the cake?
Yes! Wrap the cake layers tightly in plastic wrap and store in the freezer for up to 3 months. Thaw before frosting.
→ Is it possible to make this cake gluten-free?
Certainly! Use a gluten-free flour blend as a substitute for all-purpose flour.
Rich Chocolate Cake With Chocolate Buttercream
Created by: Clara Jennings
Recipe Type: Comfort Desserts
Skill Level: Intermediate
Final Quantity: 12 servings
What You'll Need
Cake Ingredients
- 1 ¾ cups all-purpose flour
- 1 ¾ cups granulated sugar
- ¾ cup unsweetened cocoa powder
- 1 ½ tsp baking powder
- 1 ½ tsp baking soda
- 1 tsp salt
- 2 large eggs
- 1 cup whole milk
- ½ cup vegetable oil
- 2 tsp vanilla extract
- 1 cup boiling water
Buttercream Ingredients
- 1 cup unsalted butter, softened
- 3 ½ cups powdered sugar
- ½ cup unsweetened cocoa powder
- ¼ cup heavy cream
- 1 tsp vanilla extract
How-To Steps
Preheat your oven to 350°F (175°C). In a large bowl, combine flour, sugar, cocoa powder, baking powder, baking soda, and salt. Mix well. Add eggs, milk, oil, and vanilla. Beat on medium speed for 2 minutes. Gradually stir in boiling water until combined.
Pour the batter evenly into two greased 9-inch round cake pans. Bake for 30-35 minutes or until a toothpick inserted in the center comes out clean. Let them cool in the pans for 10 minutes, then transfer to wire racks to cool completely.
In a large bowl, beat softened butter with an electric mixer until creamy. Gradually add powdered sugar and cocoa powder, mixing until the mixture is combined. Pour in heavy cream and vanilla extract, then beat until smooth and fluffy.
Once the cakes have cooled, place one layer on a serving plate. Spread a layer of buttercream on top. Place the second layer on top and frost the top and sides of the cake with the remaining buttercream. Optional: Decorate with chocolate shavings.
Extra Tips
- For an extra touch, consider adding orange zest to your buttercream for a citrusy twist that complements the chocolate beautifully.
Nutritional Breakdown (Per Serving)
- Calories: 380 kcal
- Total Fat: 26g
- Saturated Fat: 15g
- Cholesterol: 195mg
- Sodium: 85mg
- Total Carbohydrates: 32g
- Dietary Fiber: 3g
- Sugars: 24g
- Protein: 6g